


Step 1: Create a Facebook Shop
Create Instagram Shop
If you meet the requirements for a Facebook shop, here’s how you can set it up:
- Go to Facebook Commerce Manager and register a new Shop.
- Choose how you want to manage your shop (through Commerce Manager or Shopify)
- Select your preferred checkout method (Facebook or another website)
- Click submit and wait for your Facebook Shop to be approved.
Note: This usually takes less than 24 hours and you’ll get a notification when your shop has been approved.
Step 2: Add products to your Facebook Shop
With your Facebook Shop ready, it’s time to list your products.
In your Commerce Manager, you can add products and organize your inventory into different collections.
The Facebook Shop dashboard allows you to preview your online store and customize the look and feel before you publish it. I found it very easy to navigate through the features and add products even as a beginner.
Just note that you need to list a minimum of 4 products in your Facebook Shop before it goes live.
Step 3: Link your Facebook Shop with your Instagram page
Next, you can choose to integrate your Facebook shop with an existing Instagram business page. This will help you to take advantage of the many shopping features Instagram has to offer and start selling your products to your audience.
Here’s how to link your Facebook Shop with your Instagram page:
- In your Instagram app go to Settings
- Tap on Business
- Click Sign Up for Instagram Shopping
- Follow the steps and click Submit to apply for Instagram Shopping
Note: The approval for Instagram Shopping may take between 1-3 days. Once you’re approved, you’ll see a new tab under Settings called Shopping. Tap on it to turn on the Instagram shopping features.
Congratulations! You now have an Instagram Shop.
Time to start selling your products with Instagram Shoppable posts!
In this next section, we’ll show you how to make the most out of these features.
How To Promote Your Store With Instagram Shopping Features
There are several ways you can promote your e-commerce shop on Instagram.
The main Instagram Shopping features are:
- Instagram Checkout
- Instagram Live Shopping
- Shopping Sticker on Instagram Stories
- Product Tags in Posts
- Instagram Shopping Tab
1. Instagram Checkout Feature
If you’re a business with an approved Instagram Shop you can enable checkout on Instagram to streamline your sales. You can also make use of shopping features such as Shopping tags, improved product ads, set up new product launches notifications, and even live shopping on Stories. Instagram announced that for a limited time they’re waiving sales fees for small businesses who use Instagram checkout.
2. Instagram Live Shopping Feature
Besides that, select businesses are now able to sell products directly through Instagram Live Shopping. This new feature allows Instagram users to purchase your products in real-time while they watch a live stream video with a product tag. This is a major update and it’s going to be a gamechanger for both brands and influencers who can now tag products in their Live videos.
3. Shopping Sticker on Instagram Stories
Immediately after your Instagram Shop is approved, you can start promoting your products on Stories with Shopping stickers.
Here’s how to create a Shoppable Instagram Story:
- Upload a photo of your product.
- Select the Shopping sticker from the stickers library.
- Choose a product to tag it.
- Place the product tag where you’d like it to appear in your image.
- Add a “swipe up” arrow.
- Share your story. Users will be able to swipe up and be visit your Instagram shop to purchase the product tagged.
Note: Businesses approved for Instagram Shopping can enjoy the swipe-up feature on Stories even if they have less than 10k followers! With a swipeable link, you can direct your Story watchers to your website while they watch your story.
4. Product Tags in Instagram Posts
You can add product tags to your Instagram posts to make them shoppable. This helps to streamline the sales process as interested buyers can discover new products in your posts and click on them to complete a purchase without leaving the app. But before you can start tagging, make sure you’ve enabled the product tags. Just go to Settings tap on Products and click on Enable Product Tagging.
Here’s how to add Product Tags in your Instagram posts:
- Open your Instagram app.
- Tap on the “+” icon to create a new post.
- Select a photo or video from your phone showing your products.
- In the post settings, choose the Tag Products option.
- Simply tap on the area of the image to add a tag.
- Type the name of the products you want to tag and select them from the list.
- Tap Share to publish your post.
Here are some product tagging best practices to guide you:
- You can preview your posts and save them as drafts before you post.
- As soon as you’ve enabled the shopping features you can start tagging products in posts.
- Don’t forget about your old posts – you can tag them too.
- You can add between 1-5 tags in an image or video post, and not more than 20 tags in a carousel post.
- Make sure you write complete product descriptions. Users can click on a tagged post to check the product names, details and their price.
- If you’re working with influencers, ask them to tag your shop and products in their posts.

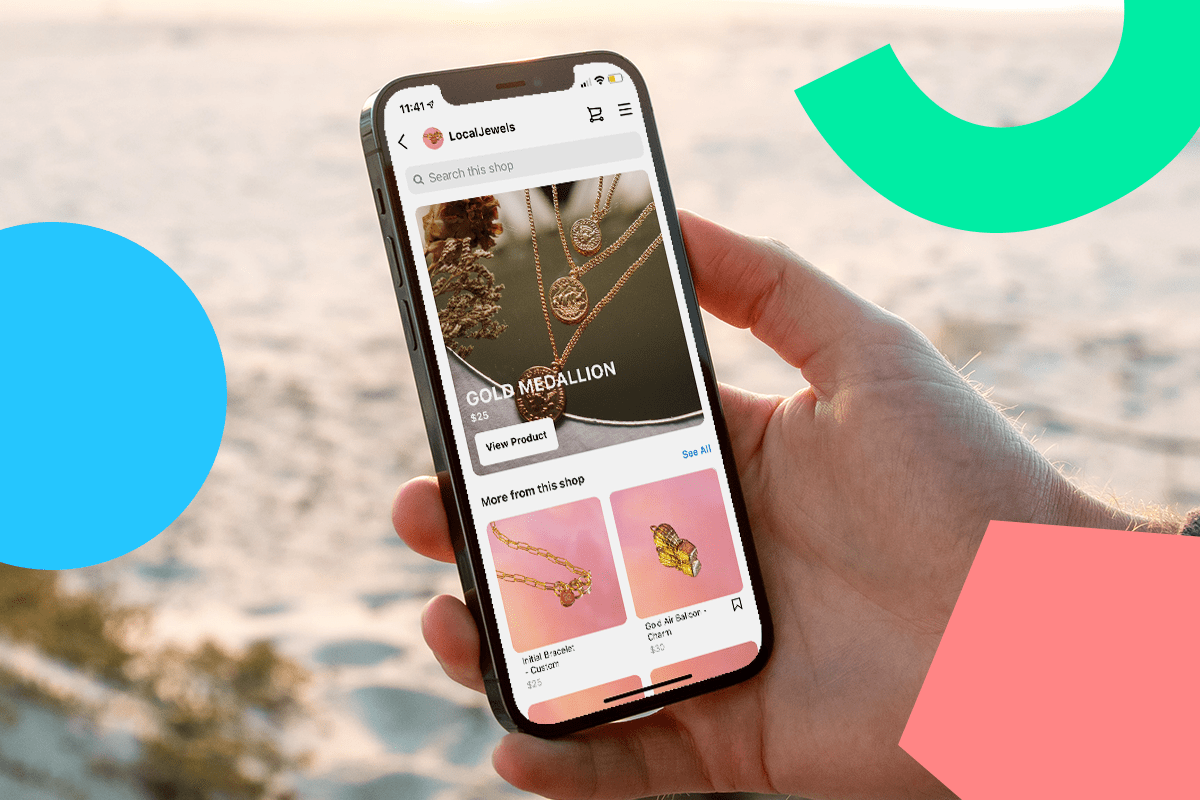
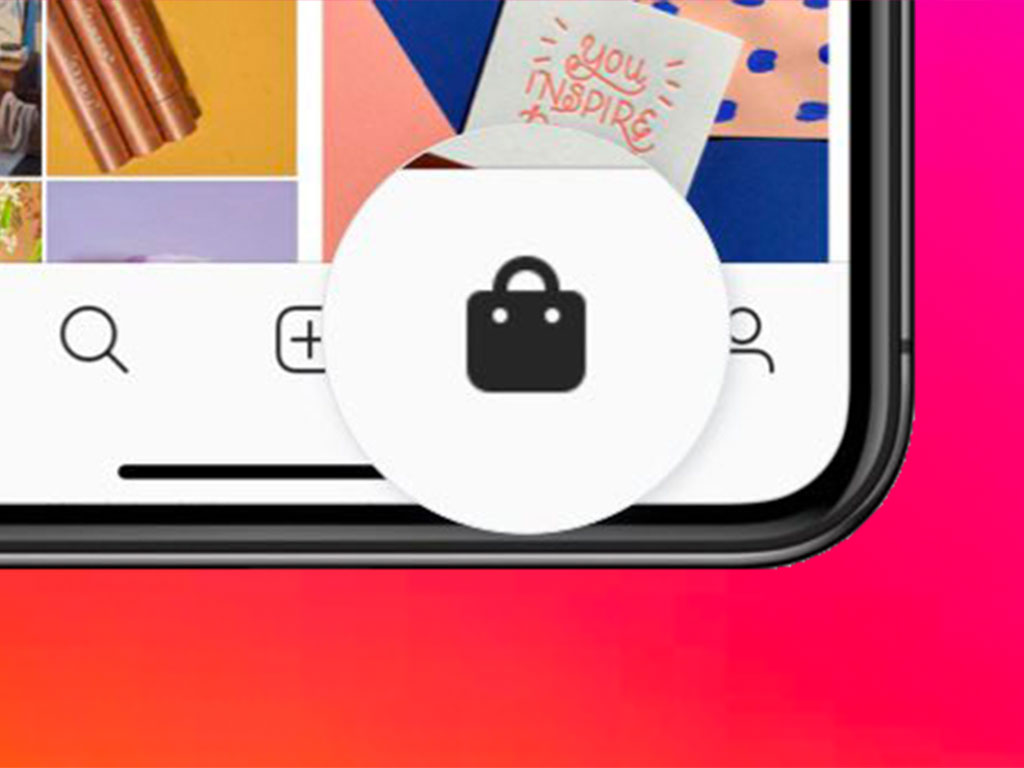
5. Instagram Shopping Tab
Instagram recently gave the platform a facelift with the redesigned home page and a new Shopping tab. Under this tab, you can now browse Instagram shops and explore featured products from brands you follow. If you’re a brand selling physical products you’ll be able to showcase here your products and featured collections.
See more… How to get verified on Instagram and get that blue check